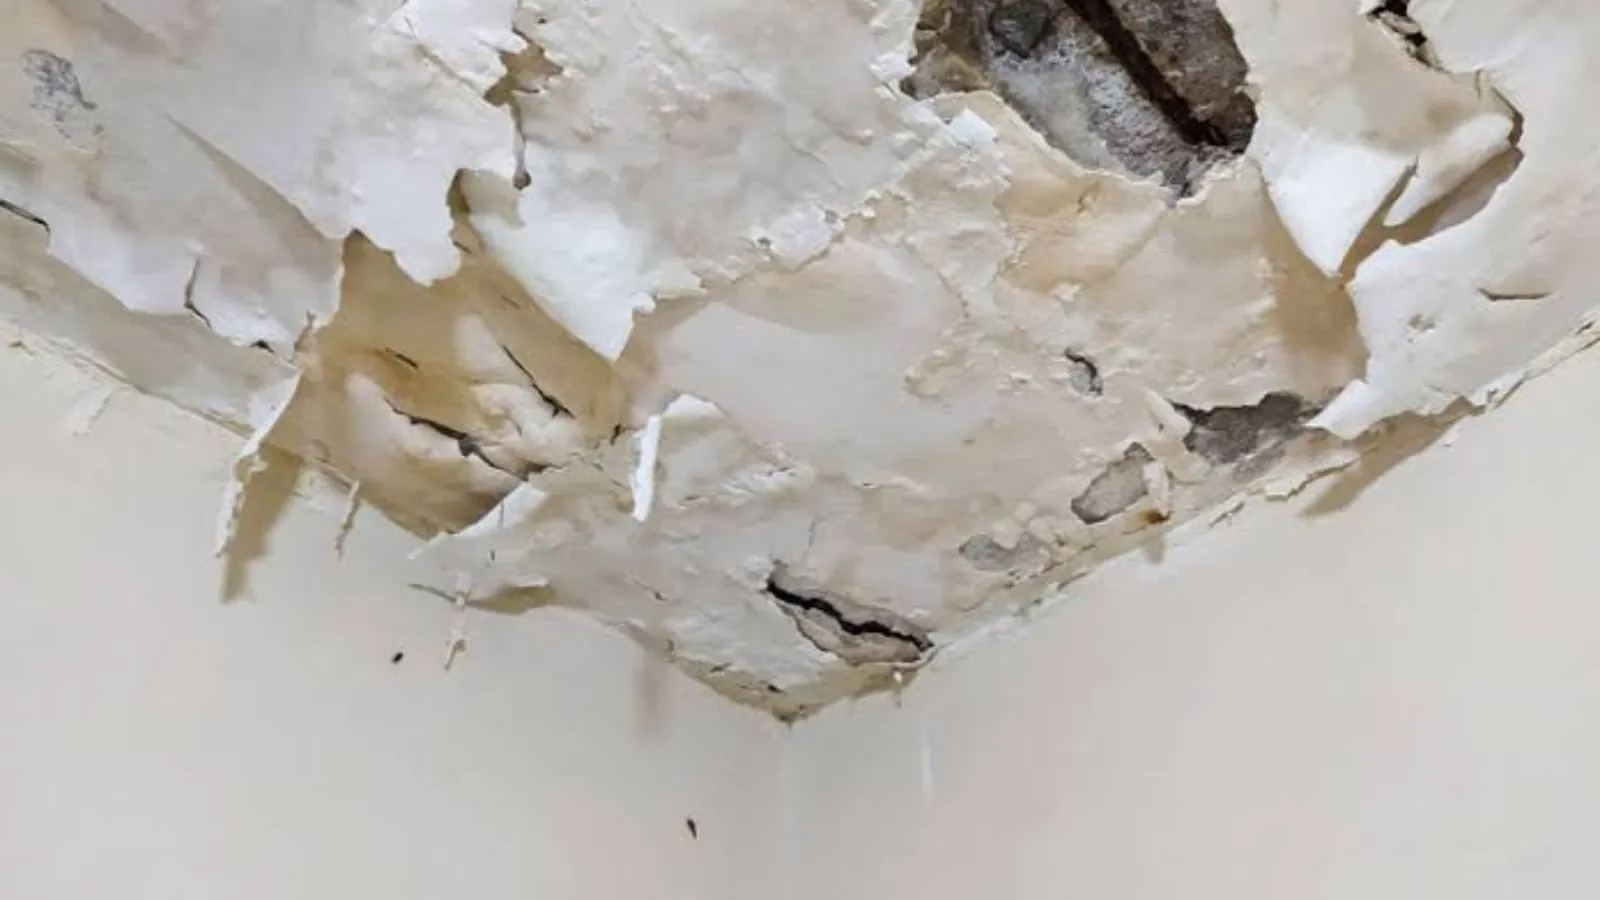
Water Damage Ceiling Repair Steps for Sachse, TX Homes
Once the leak is fixed and the area is dry, ceiling repair is a series of clear steps. This guide lists them in order so you know what a good repair includes.
Water damage ceiling repair in Sachse follows the same sequence on almost every job: confirm the source is fixed, dry the area, cut out damaged drywall, patch, texture, prime and paint. Skipping the drying step is the most common mistake, and it is why stains return. Do not start until a moisture meter shows the ceiling and the space above are dry.
Before you cut: the conditions that make repair safe
Three things must be true before repair begins. The leak must be stopped and the pipe, roof or drain repaired. The insulation and framing above the ceiling must be dry. And any insurer who needs to see the damage must have seen it.
If those conditions are not met, you are paying for the same repair twice. A restoration crew can take readings, remove wet insulation and set drying equipment before drywall work starts. That stage is described on the water mitigation page.
Tools and materials for a small patch
- Drywall saw or utility knife. Cuts out the damaged piece cleanly.
- Replacement drywall. Match the thickness of the existing ceiling.
- Joint compound and mesh tape. Blend the patch edges.
- Texture product. Match the existing finish.
- Stain-blocking primer and paint. Seal the stain and finish.
Wear eye protection and a dust mask, and cover floors and furniture. Turn off power to the room if you are cutting near fixtures or wiring.
Step by step
First, mark the damaged area and cut a clean rectangle that reaches framing on two sides. Pull the damaged drywall down and bag it. Check the insulation above and replace any that is wet.
Second, screw backing strips or new framing into place, then fit the new drywall piece. Tape the seams with mesh tape and apply joint compound in thin coats, letting each dry fully and sanding between coats.
Third, apply texture to match the surrounding ceiling. Finish with stain-blocking primer and two coats of ceiling paint. Painting only the patch usually shows, so paint the whole ceiling to the nearest corners.
When to hire a pro
Hire help if the ceiling is large, if sections are sagging, if texture is heavy or if you see mold. Sagging drywall holds water and can fall, and mold needs assessment before repair. Mold areas of 25 contiguous square feet or more must be handled by a licensed remediator, according to the Texas Department of Licensing and Regulation.
A pro also helps when the ceiling sits below an attic with wet insulation or a bathroom with a long-term leak. The extent of damage is often larger than the stain suggests.
Common mistakes to avoid
The first mistake is patching before the area is dry. The second is using ordinary paint on a stain, which bleeds back through within days. The third is skipping the insulation check, since wet insulation above a fresh patch will stain it again.
Feathering joint compound too thinly is another. Build the patch in thin coats and sand lightly between them, then prime the whole patch. Rushing the texture step is the most visible error, because texture mismatches stand out in raking light.
How long each stage takes
Drying can take days depending on the materials and the equipment. Joint compound needs time between coats, texture needs time to set and primer needs time before paint. A small patch can take most of a weekend even though the actual work is short.
Plan the repair around the drying times, not the other way around. Closing up a ceiling that is still damp is the surest way to repeat the job.
Sachse notes: permits and timing
Whether a plain patch counts as repair under that rule is a fair question to put to the city. Development Services at 469-429-4781 can say whether a ceiling repair needs one.
The Texas Department of Insurance tells homeowners to keep damaged items until the adjuster has seen them, so save the removed drywall if the adjuster has not visited. Your insurer sets the timing for payments.
What decides the cost of the repair
Size of the damaged area, ceiling texture, height of the ceiling, access, whether insulation was replaced and the number of rooms painted all affect the scope. A technician explains scope and price before work starts. See water damage repair for rebuilds, and water damage cleanup for removal.
We serve Sachse, Garland and Wylie. Call (972) 945-2885 before you cut anything and ask about moisture readings.
Frequently asked questions
Only after the area is confirmed dry and the stain is sealed with a stain-blocking primer. Ordinary paint lets the stain bleed back through.
If the stain returns after painting, the source is still active.
Small patches are within reach for many homeowners. Large sections, popcorn textures and ceilings with wiring or fixtures are better left to a contractor.
If the ceiling is old enough that you are unsure about materials, ask before disturbing it.
City code in Sachse ties permits to construction or repair of buildings, and inspections follow permits. Whether a patch alone triggers that is for Development Services at 469-429-4781.
Ask before starting a repair that involves more than a patch.
Wait for the adjuster to see the damage if you plan to file a claim. Insurers typically want to inspect first, so keep the repair temporary until they have.
Temporary measures such as buckets and tarps are fine.
Water spreading right now? Call the 24/7 line
A restoration crew can be sent to Sachse and nearby towns around the clock. Tell dispatch what happened and what you can see.
☎ Call (972) 945-2885